
-
Who this checklist is for
-
Step 1: Lock the real deadline and define done
-
Step 2: Preflight the file like the deadline depends on it
-
Step 3: Confirm substrate and ink physically
-
Step 4: Run a diagnostic print before the production run
-
Step 5: Build a realistic buffer, not a hopeful one
-
Step 6: Assign one owner and one communication rhythm
-
Step 7: Pre-plan the failure path
-
Common mistakes to avoid
Who this checklist is for
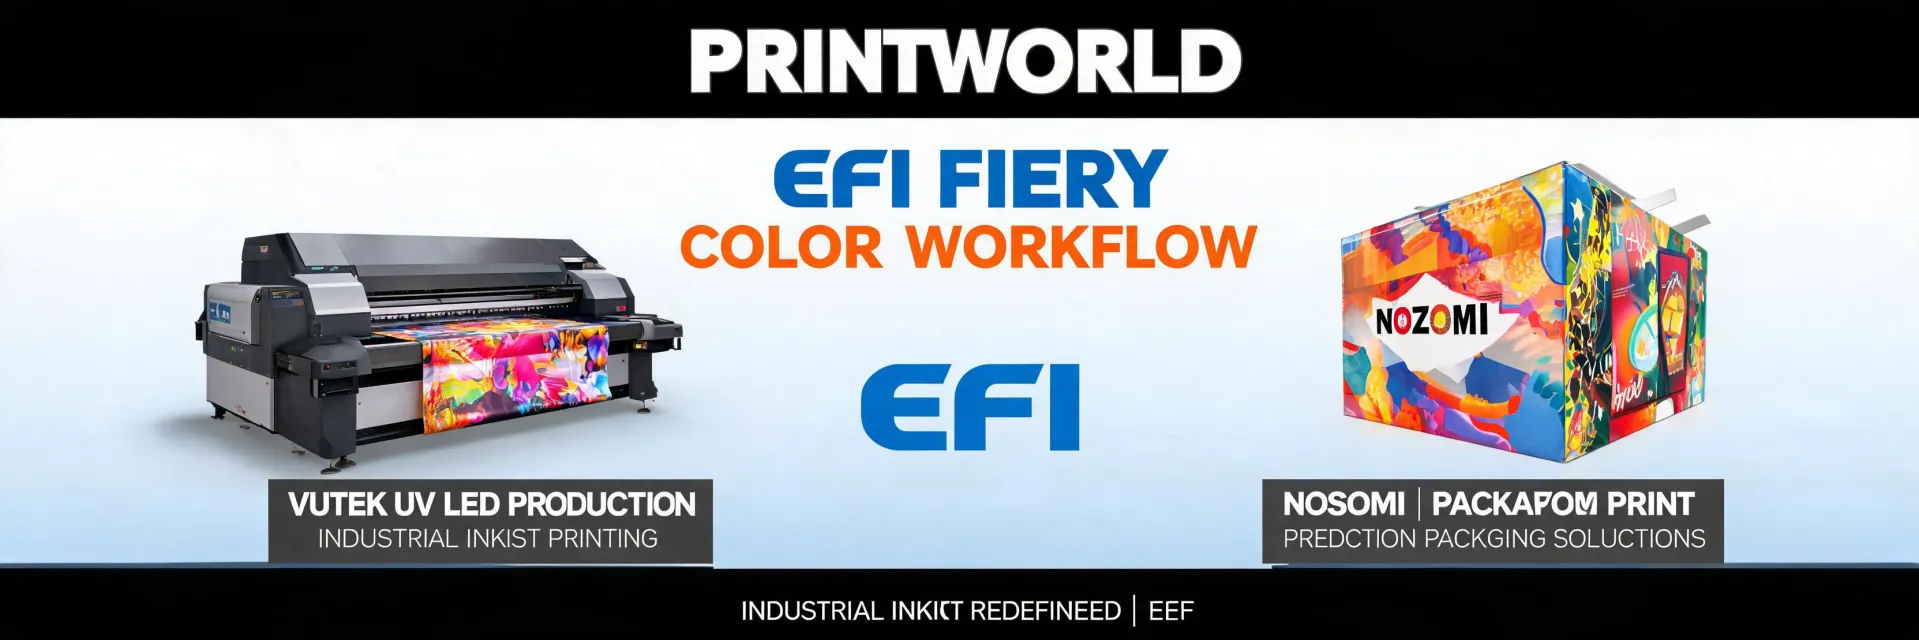
I run production escalation at a commercial print shop, and I have handled 200+ rush orders in 12 years, including same-day turnarounds for sign shops, packaging converters, and retail display clients. This checklist is for when a rush job lands and you are running industrial digital print equipment such as EFI VUTEk printers or an EFI Nozomi C18000 digital printer. It is not for desktop inkjets, DTF machines, or 3D printers. If you are searching for a Canon printer MG3620 setup guide, a fix for a 3D printer extruder clicking, or how to unclog a DTF printer head, stop here and use the manufacturer maintenance guide for that device. This workflow assumes commercial production, not a home office.
What this checklist does: it forces you to confirm the deadline, file, substrate, ink, machine, and failure plan before you promise anything. Seven steps. In that order. The order matters more than speed at the start.
The U.S. commercial printing market is roughly $85 billion annually (Source: PRINTING United Alliance, 2024), and rush jobs are where the margin and the risk both spike. This was accurate as of Q1 2025. EFI firmware, service policies, ink configurations, and freight rates change fast, so verify current details at efi.com or with your EFI service rep before committing to a deadline.
Step 1: Lock the real deadline and define done
Look, a rush job rarely fails because the press is slow. It fails because two people had different definitions of done. Ask three questions: When does the client need it in hand—not shipped? What exactly is the deliverable—rolled, flatbed-cut, stacked, kitted, installed? Who signs off on the proof?
Write the deadline on the work order with a time, not just a date. If the client says Friday, ask Friday by when. If the job is for an event, work backward from install, not from pickup. A 4 p.m. install means your print needs to be dry, finished, and QC'd hours earlier.
For EFI VUTEk and Nozomi work, add the internal cutoff to the schedule. That is the time when the file must be approved and the substrate staged. If the cutoff slips, the deadline changes. Say that out loud before production starts.
Step 2: Preflight the file like the deadline depends on it
Preflight is not a formality on a rush job. It is the cheapest insurance you have. Check page size, bleed, resolution, color space, white layers, varnish layers, spot colors, and variable data. For Nozomi C18000 corrugated jobs, verify board thickness, flute direction, and whether the design crosses folds. For VUTEk roll-to-roll or flatbed work, verify roll width, edge bleed, and panel overlaps.
The RIP queue is not a planning tool. Do not discover a missing white layer after the first panel prints. If the client sends a PDF, flatten it or verify transparency handling. If they send native files, confirm fonts and linked images. One missing font can add an hour you do not have.
Step 3: Confirm substrate and ink physically
Check inventory by walking to the rack, not by reading the system. Count full sheets or rolls. Check lot numbers. Check damaged edges. Check that the substrate is compatible with the ink and curing setup in your EFI documentation. Do not assume a similar-looking material will run the same. A 10-minute physical check beats a 3-hour reprint.
For EFI VUTEk printers, confirm the media profile and LED curing settings for that exact substrate. For Nozomi C18000 jobs, confirm board supply and any coating requirements. If you are short by even a few sheets, decide now: substitute, split the run, or move the deadline. Do not wait until the last panel.
Step 4: Run a diagnostic print before the production run
Run a nozzle check or diagnostic print on the actual machine. On a VUTEk or Nozomi, document missing nozzles, banding, or color drift. If the diagnostic is clean, save the sample and move on. If it is not, decide whether a clean cycle is enough or whether you need service. Do not start a 500-panel run hoping the first 10 panels will clear the issue.
This is also where people confuse equipment classes. A 3D printer extruder clicking, a clogged DTF printer head, and a production EFI press nozzle issue are not the same problem. Do not apply desktop or DTF cleaning methods to an industrial printer. Use the EFI service procedure for your model.
Step 5: Build a realistic buffer, not a hopeful one
Three things: warm-up, run time, finishing. In that order. Add RIP time, curing or drying time, cutting, trimming, packing, and QC. If the job needs overnight drying before lamination, that is not a buffer—that is a hard requirement.
I have handled maybe 250 rush jobs. Maybe 220, I would have to check the log. The pattern is always the same: the job that misses does not miss by a day. It misses by 45 minutes because nobody accounted for the finishing queue.
Give the client a window, not a false exact time. If you promise 2 p.m. and the printer goes down at 11 a.m., you have no room. If you promise by end of day and deliver at 2 p.m., you look good. Under-promise on the exact minute, over-deliver on communication.
Step 6: Assign one owner and one communication rhythm
A rush job with three decision-makers has no decision-maker. Assign one production owner. That person updates the client, the sales rep, and the floor. Use a simple rhythm: check-in every two hours, or at each milestone. File approved. Substrate staged. First print off. Finishing started. QC passed. Packed. Shipped.
In my first year, I made the classic proofing error: I approved a proof from a phone screen. Cost me a reprint and a 6-hour delay. On a rush job, approve the proof on a calibrated monitor or a physical sample. If the client approves on a phone, note it in writing and explain the color risk.
Step 7: Pre-plan the failure path
Ask: if the primary EFI VUTEk or Nozomi C18000 goes down, what is plan B? A second machine, an outsourcing partner, or a split run? Who do you call after hours? Do you have the service number and contract details handy? What is the cut-off time for overnight freight?
Saved $80 by skipping expedited freight on a substrate. Ended up spending $600 on an overnight reorder and overtime when the standard delivery missed our window. That was a cheap lesson compared with missing a $15,000 install. Rush freight for rigid substrate can add $300–$900 per pallet (based on Q4 2024 freight quotes; verify current rates). Budget for it before you need it.
Common mistakes to avoid
Do not accept standard as a specification. Standard board, standard white, standard turnaround—these mean different things to different vendors. Define the number.
Do not treat a diagnostic print as optional. On a deadline, the 10-minute check is the one that saves the run.
Do not promise zero downtime or exact delivery on equipment you do not control. Machines fail. Freight delays. Weather happens. Promise a process and a communication plan.
Do not use the wrong troubleshooting path. If the issue is a Canon printer MG3620, a 3D printer extruder clicking, or how to unclog a DTF printer head, this industrial checklist is not the right tool. Those devices have their own manuals and communities. For EFI VUTEk printers and the Nozomi C18000 digital printer, use EFI documentation and service channels.
Finally, verify current pricing, lead times, and service policies. This checklist reflects a Q1 2025 production workflow. The fundamentals have not changed, but the execution has. What worked in 2020 may not hold in 2025.

Elise Marceau is an LED display and digital-signage systems analyst covering LED video walls, modular screens, transparent LED, control processors, and indoor or outdoor signage. She applies IEC 62368-1 safety principles while comparing pixel pitch, luminance, contrast, refresh rate, colour uniformity, viewing angle, ingress protection, power density, module serviceability, and signal redundancy. Her specification guides help integrators, venue operators, retailers, and procurement teams align viewing distance, ambient light, content format, installation access, electrical load, and lifecycle support.