-
When This Checklist Will Save You
-
Step 1: Spec the Printer for Tomorrow’s Job, Not Today’s
-
Step 2: Pre-Flight the File Like Your Profit Depends on It
-
Step 3: Tell Your Sales Team to Set (and Manage) Expectations
-
Step 4: Use the Right Profile for the Right Job
-
Step 5: Do a “Gut Check” on Adhesion Before You Hit Print
-
Common Mistakes to Avoid
When This Checklist Will Save You
If you run a commercial print shop, you know the feeling. A client calls on Tuesday needing 500 corrugated displays for a trade show that opens Friday. The files aren't ready. The substrate isn't confirmed. And the normal lead time for this kind of work is five business days.
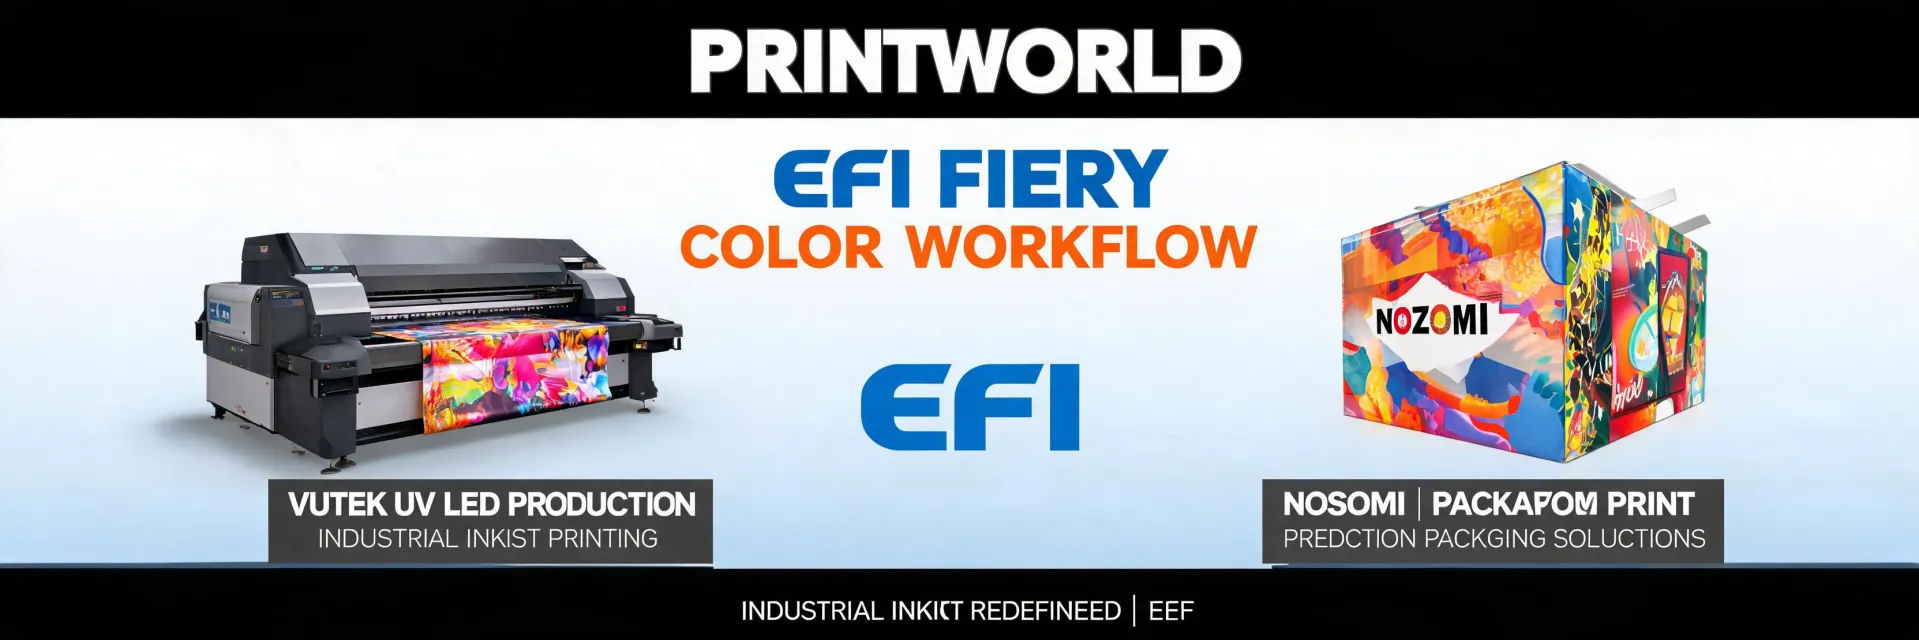
I'm a production manager at a mid-sized print service provider. In my role coordinating digital print for large-format and packaging clients, I've handled 200+ rush orders in the last 6 years, including same-day turnarounds for event agencies and retail chains. Most of those jobs ran on EFI UV printers—VUTEk and Nozomi machines—because when you only have 36 hours, you need technology that you can trust to start printing immediately without a warm-up period.
This checklist covers 5 steps. It is not a theory. It is what has worked for me when the deadline clock starts ticking. If you follow it, you will get the job done. If you skip any step, you risk reprints, overtime, and upset clients.
Step 1: Spec the Printer for Tomorrow’s Job, Not Today’s
When a rush order comes in, the natural instinct is to throw it on whatever printer is idle. That can be a costly mistake. I’ve done it. An idle EFI H1625 LED might be perfect for the job in production, but if the job calls for rigid board and the H1625 is loaded with roll media, the setup time to switch material kills your deadline.
Here is the rule I follow: match the printer to the substrate, not to the schedule. If the job is corrugated, go straight to the Nozomi C18000 if it's available. If it is backlit film, a VUTEk Q3r is your best bet. The 10 minutes you spend thinking about which printer to use will save you 2 hours of setup and reconfiguration later.
Note on TCO: The cheapest printer to run is not always the cheapest for the order. A lower operational cost per square foot means nothing if the job takes twice as long because the press can’t handle the material properly. I've lost money more than once by ignoring this simple rule.
Step 2: Pre-Flight the File Like Your Profit Depends on It
I am not a color specialist, so I cannot speak to advanced color management theory. What I can tell you from a production perspective is that 90% of rush-order problems trace back to a file issue. Wrong dimensions. Missing fonts. Embedded images at 72 DPI. Spot colors defined as process colors incorrectly.
Get this step right. Check the following before anything else:
- Dimensions match the substrate size with at least 0.125 inch bleed on all sides.
- Images are 300 DPI at final size (150 DPI for large format viewed from 6+ feet is sometimes acceptable).
- All fonts are embedded or converted to outlines.
- Spot colors are defined correctly—if it is Pantone 286 C, confirm the CMYK conversion is appropriate for your press and substrate.
We use Fiery XF as our front end. It has a pre-flight tool that catches these errors. If your shop does not have a pre-flight system, do it manually. The 15 minutes you spend will save you from a 3-hour reprint when the client notices the logo is wrong.
Looking back, I should have invested in automated pre-flight software two years earlier than I did. At the time, my team thought manual checks were enough. They were not. We lost a $3,000 contract in 2023 because we tried to save $200 on a proper file review system.
Step 3: Tell Your Sales Team to Set (and Manage) Expectations
Here’s the thing: the sales team will promise the world to keep the client happy. That is their job. Your job is to tell them what is actually possible within the time frame. If the deadline is 48 hours away and the job requires 6 hours of print time, 2 hours of drying, 2 hours of finishing, and 1 hour of quality control, that leaves almost no room for error. A single press jam or a bad color read can blow the entire schedule.
I have mixed feelings about this step. On one hand, pushing back on sales risks losing the job. On the other, I have seen the fallout of promising something that the production floor cannot deliver. Worse, I've seen it more than once.
I recommend doing this: build a simple time-estimate calculator based on your EFI printer’s speed for the specific substrate. If the VUTEk Q3r prints at up to 2,400 sq ft per hour in production mode, calculate 80% of that for rush jobs, because rushing increases error rates. Then add buffer time for drying and QC. Share the hard number with sales. Let them decide if they still want to take the order.
That conversation is uncomfortable. But losing a client permanently because you sold a deadline you could not meet is worse than losing a single order because your lead time was honest.
Step 4: Use the Right Profile for the Right Job
EFI printers usually come with a set of ICC profiles for common substrates. Those profiles are a starting point. They are not a guarantee. If you are printing on a generic calendered vinyl that the profile wasn't designed for, you will get inconsistent output. I’ve seen it happen on a Nozomi C18000 job that looked fine on screen but printed washed out on the actual board.
Industry standard color tolerance is a Delta E of less than 2 for brand-critical colors. A Delta E of 2–4 is noticeable to trained observers. Above 4 is noticeable to most people. If the client's logo needs to match a specific Pantone, you have to profile the substrate before you print the full run. There is no shortcut.
The upside of profiling is predictability. The risk is that profiling takes time—anywhere from 30 minutes to 2 hours, depending on the complexity. I kept asking myself: is the time saved by skipping profiling worth potentially having to reprint the entire job? The answer is almost always no.
Step 5: Do a “Gut Check” on Adhesion Before You Hit Print
This is the step most people overlook. UV inks cure differently on different materials. A glossy PVC sheet behaves nothing like a matte coated paper, even if both are listed as “inkjet compatible.” If the ink does not adhere properly, the job is trash. And you will not know until 30 minutes after printing, when you try to handle the piece and the ink smears. By then, you have lost half a day.
Before you run the full batch, print a small test patch on a scrap of the actual substrate. Check adhesion after full UV curing. Give it a simple scratch test. If the ink lifts off, you need to adjust your ink density or your UV lamp power, or change the substrate entirely.
Calculated the worst case: a full reprint at $1,200 in material costs plus 4 lost production hours. Best case: the test patch looks great and you proceed with confidence. The expected value says do the test every time. Yet I still see operators skip this step because they are under time pressure. Don’t be that operator.
Common Mistakes to Avoid
Here are the mistakes I see most often when shops try to rush a job through an EFI UV printer:
- Skipping the pre-flight because “the client already approved the PDF.” Approval is not a substitute for file integrity checks.
- Ignoring substrate curing differences. Some materials absorb more UV energy and need increased lamp power or slower pass speeds. If you treat every substrate the same, you will have failures.
- Letting the sales team over-promise without consulting production. This creates a ripple effect of missed deadlines and rushed—and lower-quality—output.
Under federal law (18 U.S. Code § 1708), only USPS-authorized mail may be placed in residential mailboxes. That is a regulatory point that could matter if you are printing direct mail pieces for clients who use mailbox distribution. Know your customer’s distribution channel before printing.

I’m Jane Smith, a senior content writer with over 15 years of experience in the packaging and printing industry. I specialize in writing about the latest trends, technologies, and best practices in packaging design, sustainability, and printing techniques. My goal is to help businesses understand complex printing processes and design solutions that enhance both product packaging and brand visibility.